Home · DIY Corner · DIY Party Passport Booklet
DIY Kids' Party Passport Activity Booklet
Give every child a passport at their place and the party becomes a journey. Here is the eight-page booklet, the five stations that fill it, and the folding trick that makes it hold together in small hands.
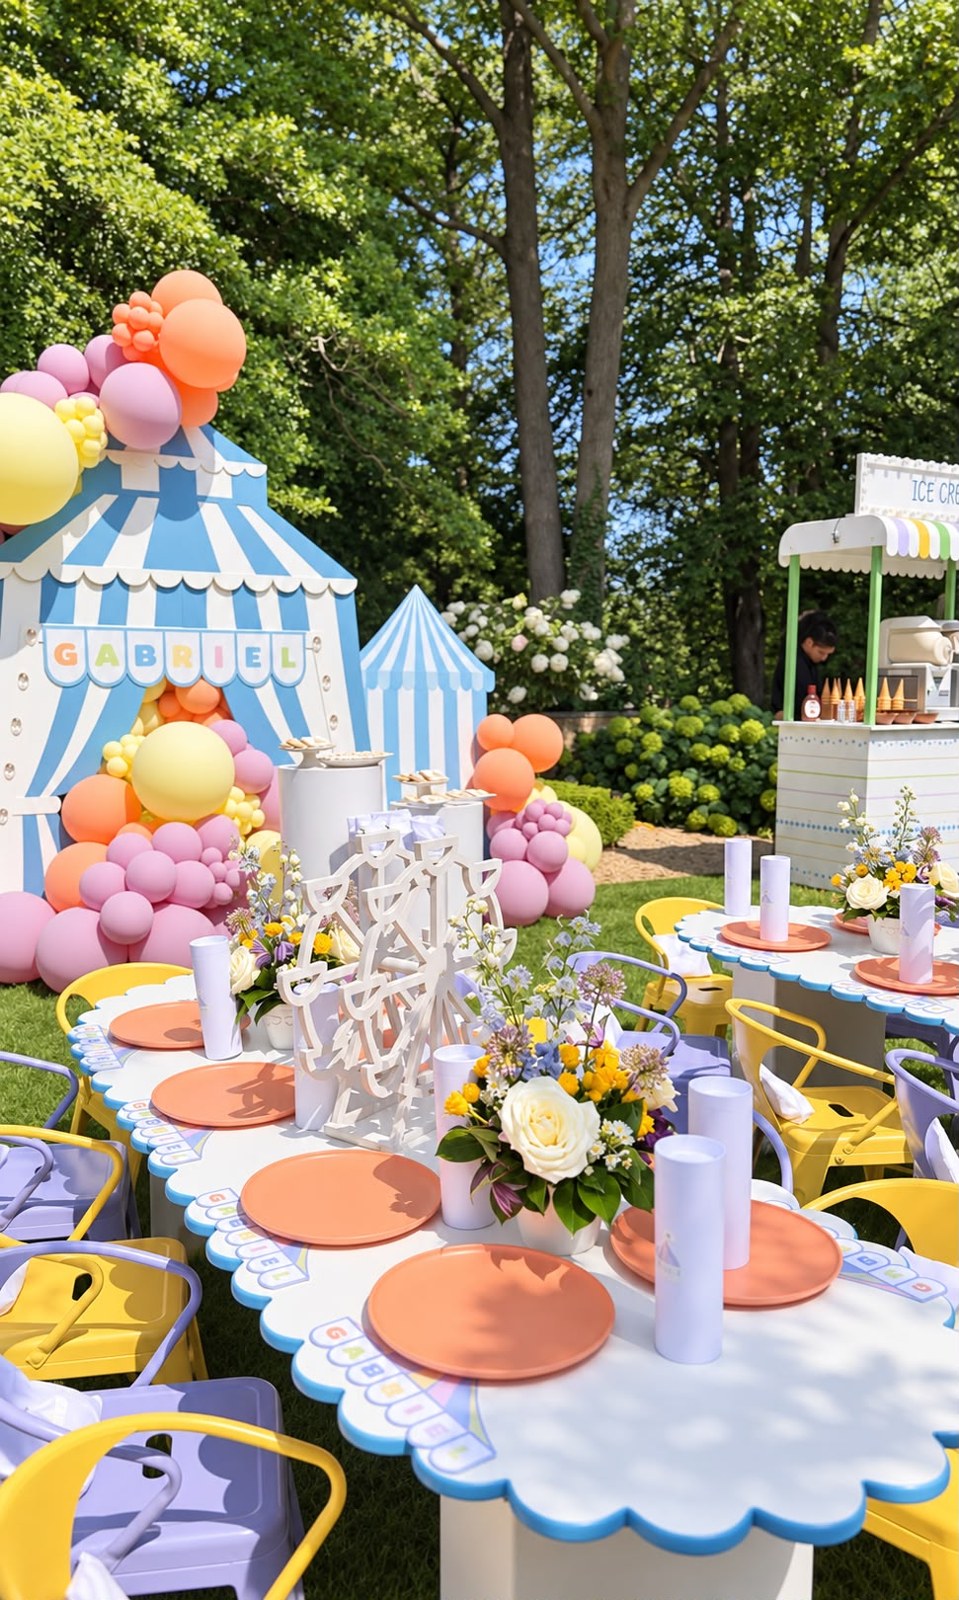
Children arrive at a party and then, for roughly eleven minutes, have nothing to do. They are too shy to run around, the food is not out, and the entertainer is still parking. That eleven minutes is where a party either settles or scatters — and it is the exact problem a passport booklet solves.
The idea is simple enough that a four-year-old grasps it instantly: you get a little booklet with your name in it, and at each station around the party someone stamps a page. Craft table, snack table, photo corner, dessert cart, the entertainer. Five stamps and the passport is complete. Children move through the party in their own time, nobody has to be organized into a game, and every child leaves with something they made and filled.
It takes forty minutes for a table of twelve, costs under ten dollars, and it is the single best use of a place setting we know.
What you'll need
- Letter-size cardstock, 65 lb, in ivory, kraft or navy — one sheet makes four covers
- White text-weight paper for the inside pages — one sheet makes four sets
- Narrow ribbon or embroidery floss, about 10 inches per booklet
- A small rubber stamp and a washable ink pad — one per station
- A fine-tip gold or black pen
- A sheet of star or dot stickers
- Optional: matching printable covers from our free printables page
Time: about 40 minutes for 12 booklets · Cost: $7–12 in paper, ribbon and a stamp pad
How to make the passports
Cut the covers and pages
Cut the cardstock into 8-inch by 5-inch rectangles — one per child, four per letter sheet. Cut the white text-weight paper slightly smaller, 7.5 by 4.5 inches, and allow two sheets per booklet, which gives eight inside pages once folded. Cutting the pages smaller than the cover is the whole reason a homemade booklet looks bound rather than stapled; a quarter-inch of cover showing all the way around reads as deliberate.
Score and fold
Score each cover across the middle of the 8-inch side with a ruler and a bone folder (the back of a spoon works), then fold. Do the same with the inside sheets. Nest the white pages inside the cover and press the spine firmly. Fold every sheet in the same direction — a booklet whose pages fold against each other will never sit flat, and children notice.
Bind it with ribbon, not staples
Open the booklet flat and make two holes along the fold, about an inch in from each end, with a needle or a small punch. Thread a 10-inch length of ribbon or embroidery floss through from the outside, bring both ends back out and tie a small bow on the spine, facing front. Ribbon binding is safer than staples in small hands, it survives being stuffed in a pocket, and it is the detail that makes the booklet look like a keepsake. Trim the ribbon ends at an angle so they do not fray.
Write the cover and the first page
On the cover, write PASSPORT across the top in gold pen and the party's name beneath it — The Grand Carnival, Mermaid Bay, whatever the theme is — then add a star sticker. Rule the first inside page with three short lines: Name, Age, Favorite color. Filling that in is the first thing each child does when they sit down, and it buys you the eleven minutes. Leave the remaining pages blank with a small circle drawn in the center of each — that circle is where the stamp goes.
Set up five stations
Pick five natural stops: the craft table, the snack table, the photo corner, the dessert cart and the entertainer or cake table. Put a stamp and a washable ink pad at each, and tell whichever grown-up is nearest that their job is to stamp a page and say something ceremonious about it. Five stations spread across the space is what keeps children circulating instead of clustering. If you have fewer, three works — do not stretch to seven.
Set one at every place
Put a booklet on each plate at the children's table, name already written on the cover so it doubles as a place card, with a short pencil laid across it. Keep two blank spares in a drawer — a sibling always comes. For the full table, our table-styling guide covers what goes where, and the booklet sits beautifully alongside chair name tags in the same paper.
The same cardstock run gives you the booklet covers, matching menu cards and corner bookmark favors. One paper order, three coordinated pieces — which is the whole trick to a table that looks styled rather than assembled.
Where it earns its keep
The passport is at its best at two kinds of party. The first is a big, loose gathering — a backyard birthday, a chol hamoed open house, a family celebration where children arrive in waves. The booklet gives each new arrival something to do within ten seconds of sitting down. The second is a party that has moved indoors: when the plan has shrunk to one room, five stations around that room restore the sense of a party with places to go. Our rain plan guide covers the rest of that scenario.
It is also wonderful on a themed table. A carnival passport gets stamped at the popcorn stand; a safari passport collects animals; a mermaid passport collects shells. And because it ends up in a coat pocket rather than a bin, it is one of the few party favors that still exists a month later.
Frequently asked questions
What ages is a party passport best for?
Four to nine. Younger children love the stamping and need a grown-up to hold the page; six- to nine-year-olds take the collecting seriously and will find stations you forgot to mention. For under-fours, skip the writing lines and use stickers instead of ink.
What kind of stamp and ink should I use?
Any small rubber stamp works — a star, a shell, a paw, the party's initial. The important part is a washable ink pad. Permanent ink on a child's hands and a rented tablecloth is a different kind of memory.
How long does it take to make twelve?
About forty minutes once you have cut the paper, and the cutting is the slow part. A paper trimmer turns it into a fifteen-minute job. Older children enjoy making them, so it works as a project the day before.
Can I use this without a theme?
Yes. Write the child's name and the age on the cover instead of a theme name and let the stations be simply the places food and activities are. It works at any party where children need a reason to move around.
What if a child loses their passport mid-party?
Keep the spare blanks handy and write the name in on the spot. It takes ten seconds and it matters enormously to a five-year-old.
DIY the details, rent the wow
Beautiful children's tables, chairs and dessert carts — delivered, set up and picked up across NJ, NY & PA.
Call 917-682-1524