How to Style a Kids' Party Table Like a Pro: The 5-Layer Formula
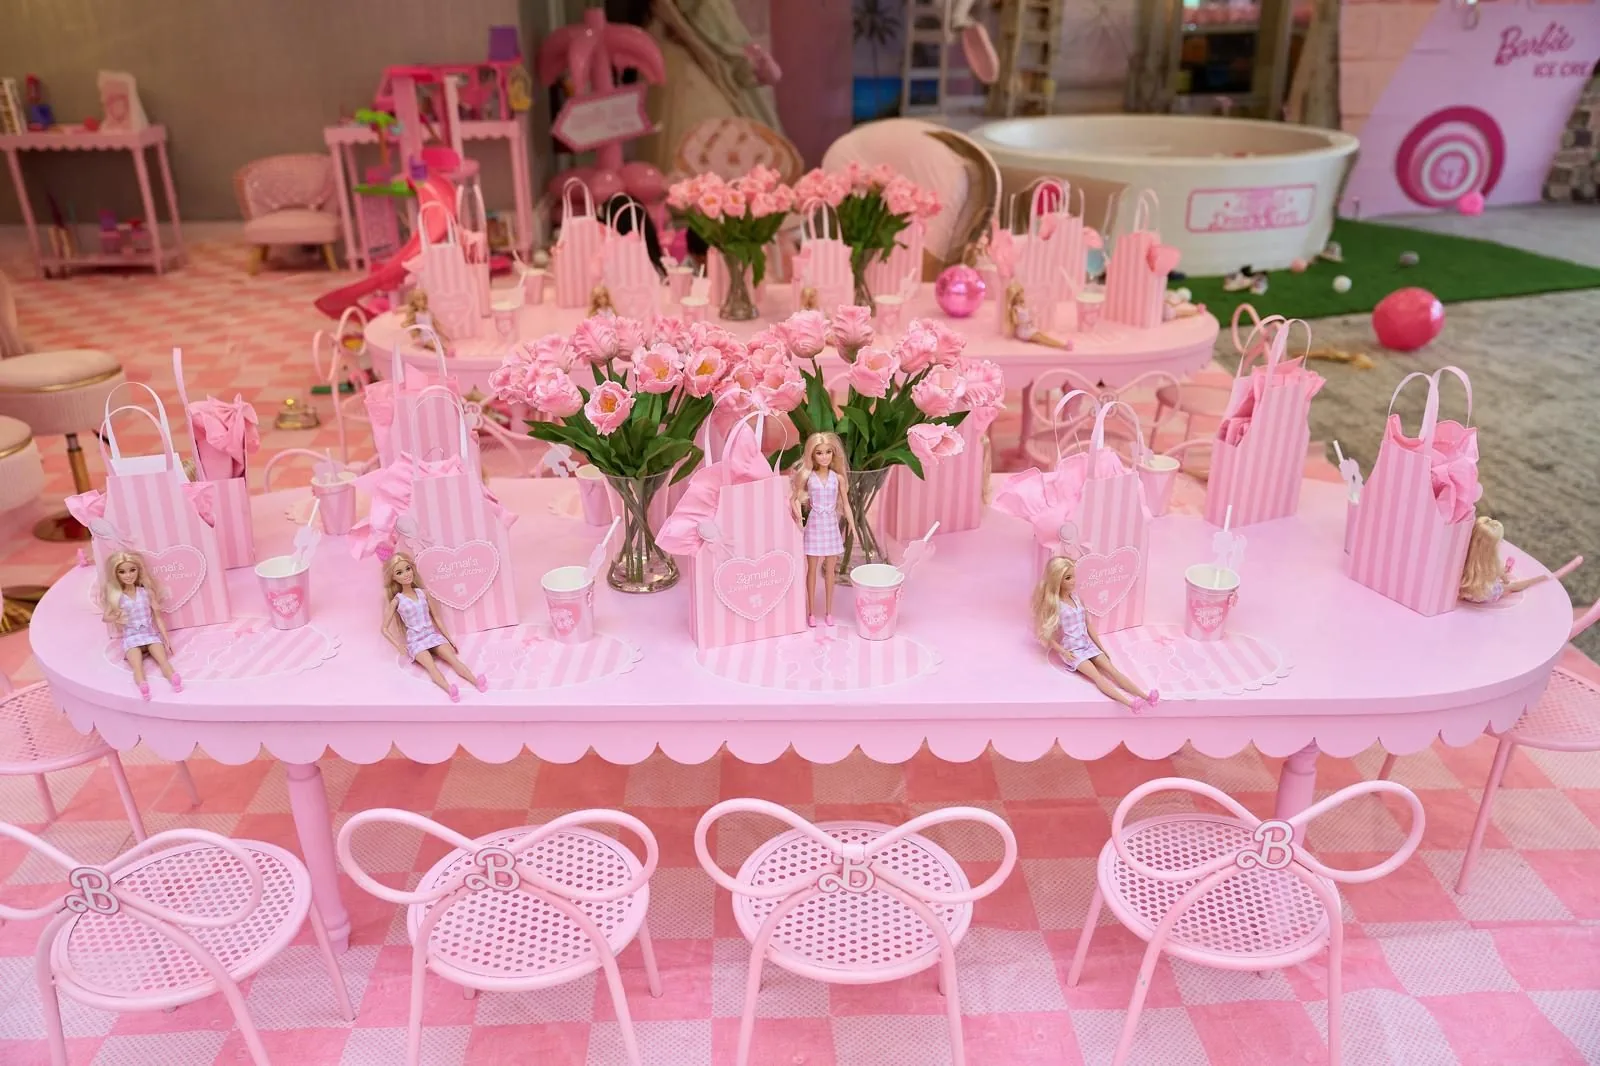
Ever wonder why some children's party tables look like they came out of a magazine while others — with just as much effort — feel a little flat? The difference is almost never the budget. It's layering. Styled tables are built in deliberate layers, from the surface up, and once you know the formula you can recreate it for any theme. Here's exactly how we build the tablescapes at our events.
Layer 1: The foundation
Start with the table surface itself. If the table is beautiful — a soft color, a scalloped edge — let it show. If it's plain, a runner or a floor covering beneath the setup (like a checkered mat) sets the palette for the whole scene. Everything else you add should live inside the color story you establish here, so choose two main colors and one accent, and stay disciplined about it.
Layer 2: Individual place settings
This is the layer kids notice most, because it's theirs. For each little guest:
- A placemat or charger anchors the spot (scalloped paper placemats are inexpensive and adorable)
- A themed cup — paper cups with a matching design, one per child
- A small napkin, folded simply or slipped through a ring
Consistency is what makes this layer sing: identical settings, evenly spaced, instantly read as "styled." A quick trick from our setups — place a chair at each setting first, then center the placemat to the chair, not the other way around.
Layer 3: The centerpiece line
Run your centerpieces down the middle of the table in a repeating rhythm: tall, low, tall, low. Fresh or silk flowers in simple vases are the most forgiving choice — pink tulips or peonies work for nearly every girly theme, while greenery and white blooms suit neutral palettes. Keep centerpieces below the children's sight line across the table, or they'll spend the party peeking around them.
Layer 4: The favor moment
Here's the pro move: instead of handing out favor bags at the door, make the favors part of the decor. A little gift box, bag or themed keepsake placed at each setting doubles as decoration and gives every child that "this is for ME" moment when they sit down. Favor boxes shaped to your theme — little houses, purses, treasure chests — essentially become your table's architecture.
Layer 5: Finishing touches
The last ten minutes matter most. Walk around the table slowly and add: a sprinkle of confetti or petals between settings (a little goes a long way), name cards if you're feeling fancy, and one small "wow" element per setting — a themed cookie, a mini toy, a tiny disco ball. Then step back, take a photo, and look at the photo rather than the table. Cameras reveal gaps and imbalances your eye forgives.
The mistake to avoid
Overcrowding. When every inch is covered, nothing stands out and little hands have nowhere to actually eat. Pros leave breathing room on purpose — if you're unsure whether to add one more thing, don't.
And a gentle truth from years of parties: the furniture is the one layer you can't DIY around. Beautiful chairs sized for little guests do more for the final look than any amount of tabletop styling — they're the frame around the whole picture.
Two pieces that finish the table: a kids’ charcuterie board for the waiting hour, and a tissue paper flower wall behind it.
Start with a beautiful foundation
Browse our boutique children's tables and chairs — delivered, set up and picked up across NJ, NY & PA.
Call 917-682-1524