Home · DIY Corner · DIY Sundae Cup Favors
DIY Ice Cream Sundae Cup Favors for a Kids' Party
Ice cream at a children's party is a race against the weather. This version is not ice cream, does not melt, and goes home in the guest's hand — the sundae cup that is also the favor.
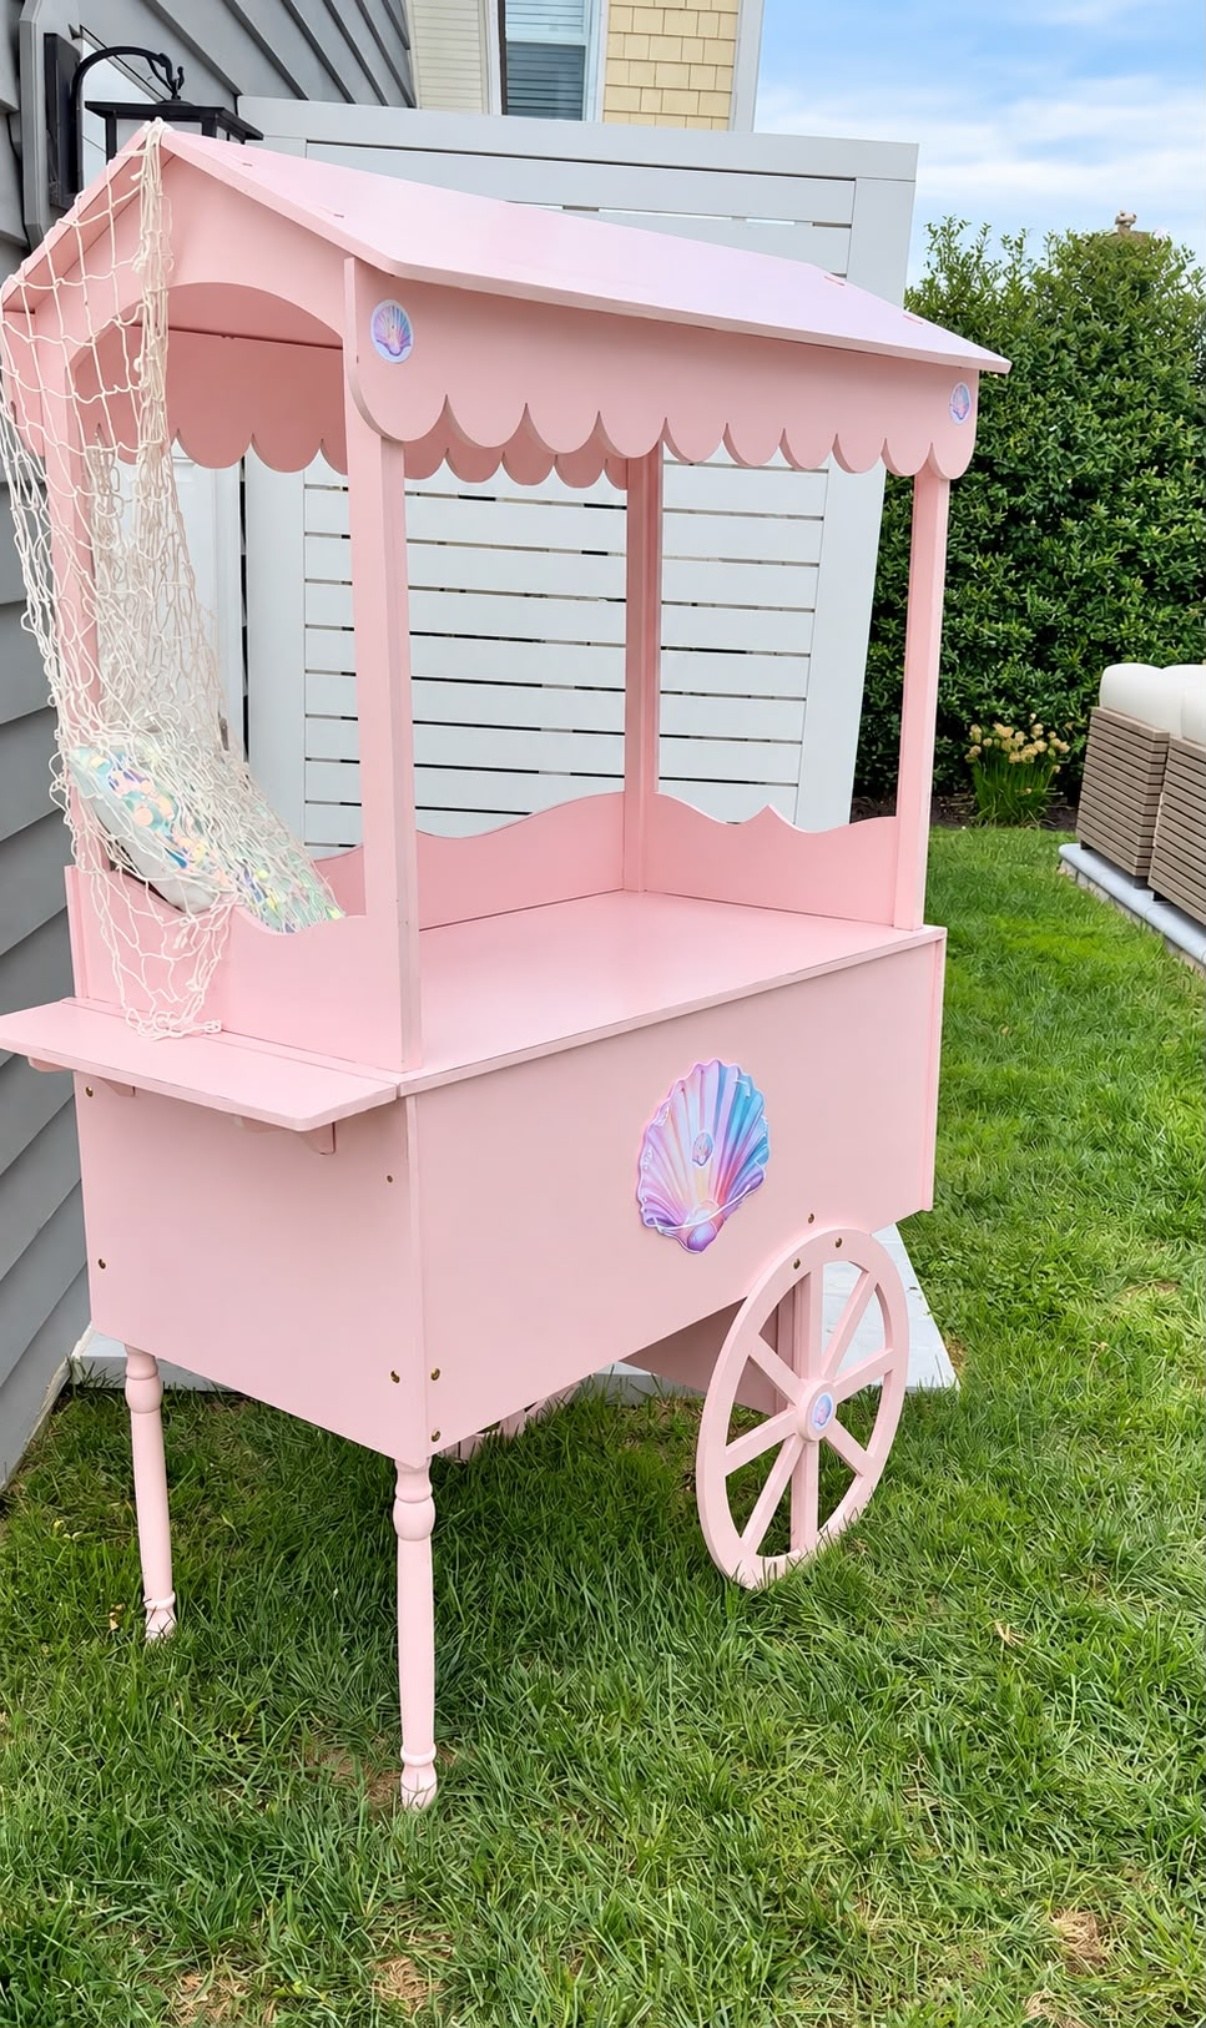
Every dessert cart at a summer party has the same problem and it is not flavor. It is physics. Real ice cream at an outdoor birthday gives you about eleven minutes before the first cup is soup, the cart is sticky and a child is crying about a fallen scoop. Which is a shame, because the look of a sundae — the layers, the cherry, the tall clear cup — is one of the best things you can put on a dessert cart.
So we build the look without the melt. A chilled pudding-and-crumb sundae holds its layers for two hours at room temperature, travels home in a guest's hand and, with a lid and a tag on it, replaces the goodie bag entirely. The children assemble their own at the table, which is also the activity. Thirty minutes of prep, one afternoon of quiet.
What you'll need
- Clear 9 oz plastic cups with dome lids — twelve, plus two spares
- Vanilla or strawberry pudding cups, or a thick Greek-style yogurt, chilled
- Crushed sandwich cookies or graham crumbs for the base layer
- Mini marshmallows, rainbow sprinkles and one maraschino cherry per cup
- Small kraft or cardstock tags and thin ribbon — or print a matching set from the Paper Atelier
- Long-handled spoons, one per cup, and a small tray or shallow box to carry them
Time: about 30 minutes for 12 cups · Cost: $18–25 for twelve
How to make them
Crush the base layer and chill everything
Put the sandwich cookies in a zip-top bag and crush them with a rolling pin to a coarse crumb, not a powder — you want visible pieces so the bottom layer reads as a dark band through the cup. Chill the pudding or yogurt hard, at least two hours and ideally overnight. Cold filling holds a clean edge against the glass; room-temperature filling slumps into the crumb and the layers disappear within the hour.
Pipe, do not spoon
This is the step that separates a sundae cup from a mess in a cup. Spooning smears filling up the inside wall and every layer above it looks muddy. Pipe it instead: fill a piping bag or a zip-top bag with the corner snipped to about half an inch, hold the tip low in the cup and squeeze as you lift. The filling goes in clean and the walls stay clear. Wipe the rim with a paper towel before the next layer.
Build exactly four layers
Four layers, in this order: crumb, filling, crumb, filling, each about three-quarters of an inch deep. Four reads as designed; six reads as fussy and three looks like you ran out. Stop when the cup is two-thirds full — the top third belongs to the toppings and the dome lid, and a cup filled higher than that will press filling into the lid and look smeared by the time it goes home.
Crown it and lid it
Scatter mini marshmallows around the edge, add a pinch of sprinkles over the center and set one cherry, slightly off-center — dead center looks like a diagram, off-center looks like dessert. Press the dome lid on within a minute, before the sprinkles have a chance to bleed color into the filling. Lidded cups keep beautifully in the refrigerator for up to a day.
Tag it and stage it on the cart
Tie a small tag to each spoon handle with thin ribbon — the child's name if you have the guest list, or just the party's date. That tag is what turns dessert into a favor, and it is the reason nobody needs a goodie bag. Stage the cups on the dessert cart in odd-numbered clusters at two heights, some on a cake stand and some on the deck of the cart, so the display has a shape. Our mini chalkboard menu beside them finishes the vignette.
Set the crumb, the piped filling and the toppings in bowls down the center of the kids' table and let each guest build their own. It is a twenty-minute activity, it needs no supervision beyond handing out spoons, and every child leaves with something they made. Keep four pre-built cups back for the photographs.
Where it earns its keep
Sundae cups are the right dessert for any party where cake is not the centerpiece — a drop-in open house, a second sibling party, a hot August afternoon. They pair naturally with our Ice Cream Social theme, and they sit beautifully beside the popcorn bar cones on the same cart. For the full cart, our dessert cart styling guide covers height, spacing and what to put where.
Frequently asked questions
How far ahead can I make the sundae cups?
Build them the day before and keep them lidded in the refrigerator. The layers hold cleanly for about 24 hours chilled, and once they are out on the cart they look right for roughly two hours at room temperature.
Will they melt at an outdoor party?
No — that is the whole point. There is no ice cream in them. Chilled pudding or thick yogurt holds its shape in the sun far longer than a scoop does, and the dome lid keeps the toppings in place until the cup goes home.
What can I use for a dairy-free or nut-free version?
Coconut or oat-based pudding works exactly the same way, and most crisp sandwich cookies are nut-free — but check the package rather than assuming. Label a few cups clearly and set them slightly apart on the cart so a parent can spot them.
How many cups do I need?
One per child plus two spares. Children rarely take a second, because the cup goes home with them, so plan by headcount rather than by appetite and put any extras out at the end for the grown-ups.
DIY the details, rent the wow
Beautiful children's tables, chairs and dessert carts — delivered, set up and picked up across NJ & NY.
Call 917-682-1524