DIY Paper Chain Birthday Countdown
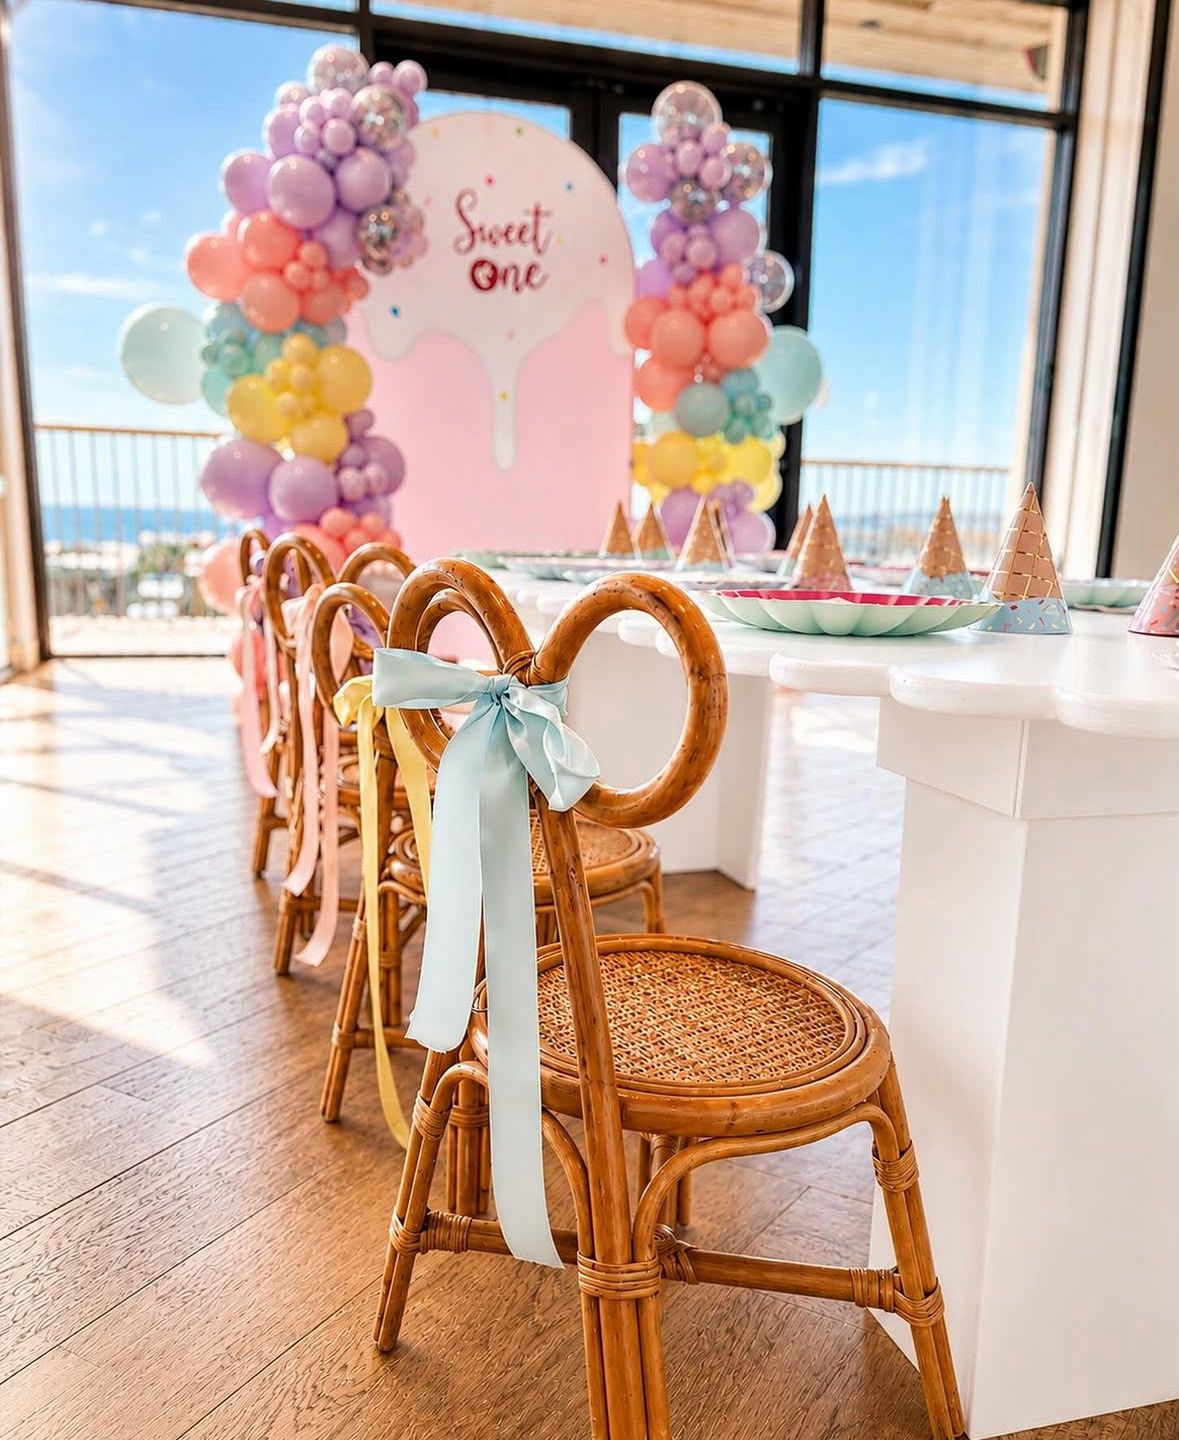
The birthday excitement often starts long before the guests arrive. A paper countdown chain gives that anticipation a little ritual: one link for each day, one small moment to enjoy together. Make it in your party colors and it becomes part of the celebration before the table is even set.
What you’ll need
- Three sheets of colored paper or lightweight cardstock
- One extra sheet for a birthday header
- A ruler, pencil and scissors
- A glue stick or double-sided tape
- Markers and a wall-safe display method suitable for your surface
1. Count the days and choose your colors
Choose a start date and count the days remaining before the birthday. For a 10-day countdown, make 10 links; removing the final link means the birthday has arrived. Pick two colors from the invitation and one neutral. Alternating them creates a tidy pattern without needing printed artwork.
2. Cut matching paper strips
Mark strips approximately 1½ inches wide and 8 inches long. Cut one strip per day, plus a couple of spares. Lightweight paper bends more easily than thick card. Before cutting everything, curl one test strip into a loop and check that the overlapping ends hold with your chosen adhesive.
3. Add tiny birthday prompts
Number the strips from 10 to 1. Inside a few, write a simple invitation: “Pick our birthday breakfast,” “Practice your birthday smile,” or “Tell us your favorite memory from this year.” Leave other links blank so the countdown stays fun and does not become a daily list of jobs.
4. Build the chain in order
Close the first strip into a loop, overlapping the ends by about an inch. Thread the next strip through it before closing that loop. Continue, placing the number for the first countdown day at the free end where it can be removed easily. An adult can help open or cut off one link each morning.
5. Give it a birthday header
Write “Counting down to Maya’s birthday!” on the extra sheet and attach the top paper link to its back. Display the chain on a suitable wall surface away from beds, walkways and children’s reach. Skip hanging cords, staples and tiny embellishments.
Make it feel like your party
Try cream, peach and blush for a soft celebration, or pale blue, white and lemon for a cheerful morning party. Save the header for a memory box after the final link comes off. For another keepsake, pair this project with our birthday-wishes mailbox.
Planning the table next? Browse the MCA portfolio and repeat one countdown color in your place settings. A small detail carried from home to party makes the whole day feel connected.
Planning a celebration in NJ, NY or PA? Tell us your date, venue and little guest count to explore children’s furniture rentals.
Get a Quote