DIY Paper Apple Orchard Collage for a Fall Party
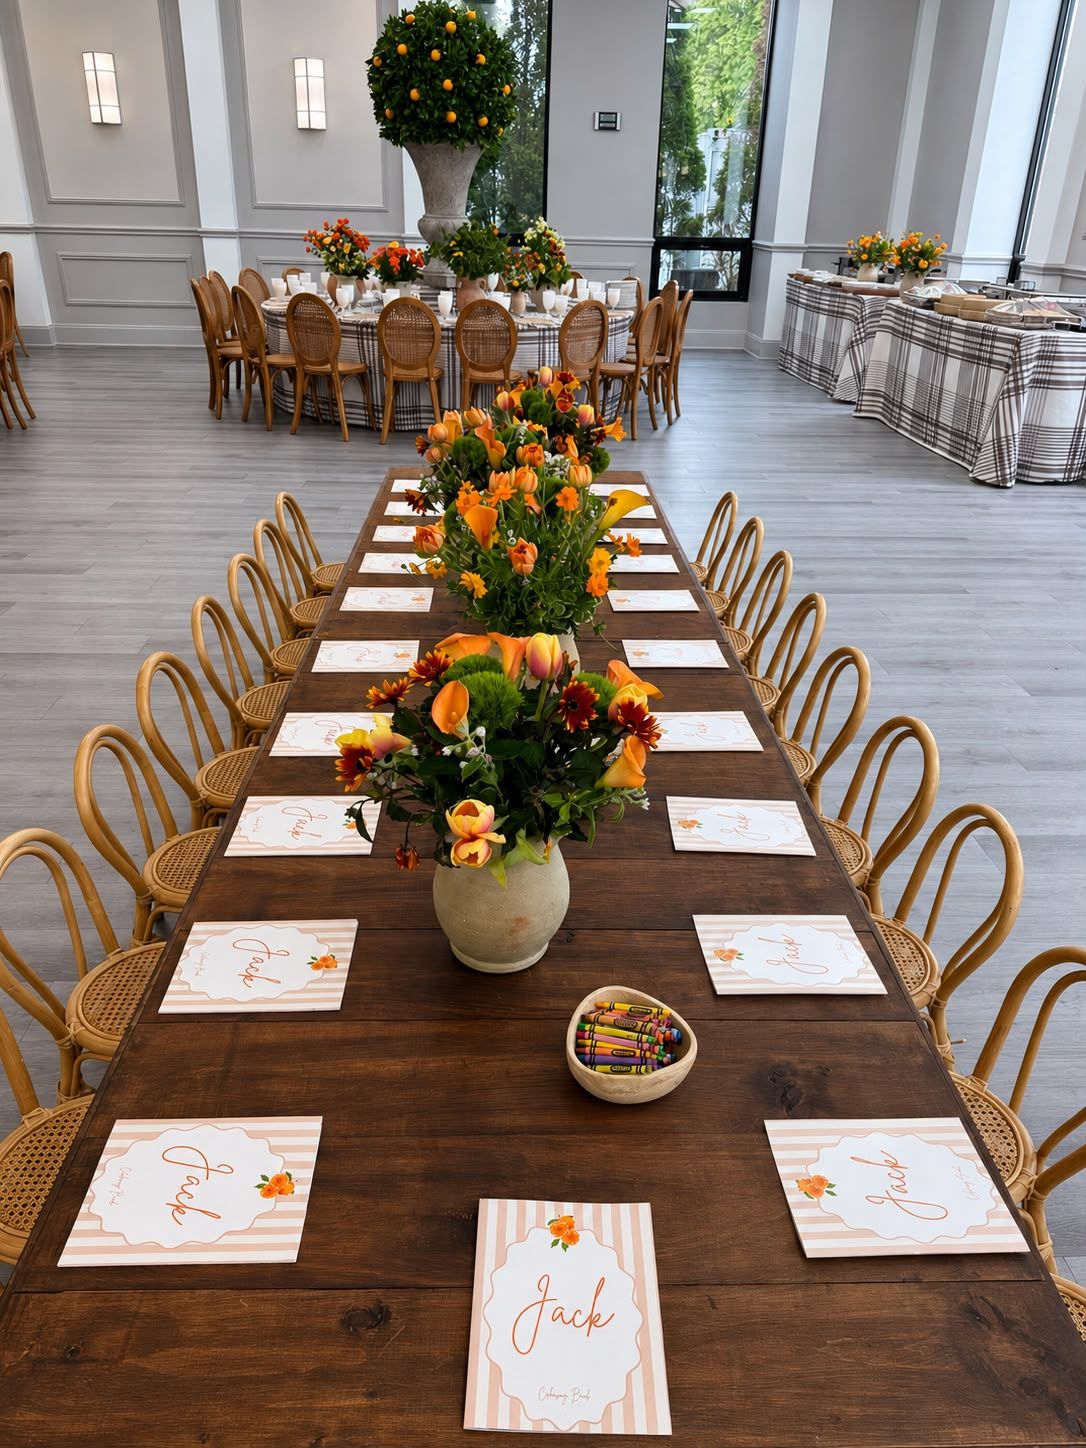
An orchard made by little guests will never have perfectly matching trees—and that is its charm. This shared paper collage gives a fall birthday an activity and a keepsake in one. Prepare the larger shapes ahead, then invite each child to add an apple, a leaf or a patch of sky.
What you’ll need
- One large sheet of sturdy paper, approximately 24 by 36 inches
- Four sheets each of red and green construction paper
- Two sheets of brown paper and two of yellow paper
- Four glue sticks suitable for the participating children
- Crayons, a pencil and adult-handled scissors
- A host-supplied craft table and protective covering
- A folder or flat board for carrying the finished artwork
1. Draw a simple orchard
Lay the background horizontally. Sketch two large tree trunks with wide canopies, leaving space between them and some open sky above. Two trees are plenty: a crowded outline leaves children less room to make choices. Keep the lower part of the picture open for grass or a drawn picnic blanket.
2. Prepare generous shapes
Cut the trunks from brown paper and roughly 16 apples, each about 3 inches wide, from red and yellow paper. Fold a scrap in half and cut a rounded half-apple shape to make a reusable adult tracing pattern. Cut large green leaf shapes rather than tiny stems. Quantity is flexible; keep a few full sheets available for guests who want to draw something different.
3. Assemble the background first
Glue the trunks down and lightly color the tree canopies. Leave the apples unattached. Set the loose pieces in wide, shallow trays by color so children can see the choices. Put away scissors before younger guests arrive. Children who still mouth craft materials need an alternative activity chosen with their caregiver.
4. Let everyone make a contribution
Ask each child to decorate one or two apples with crayons before adding them to the orchard. Names can go on the back if families prefer. An adult can help apply glue and position the shapes, making room for the next guest. Nobody needs to fill a particular spot or copy the sample.
5. Keep the artwork separate from meals
Use the host’s craft surface for glue and coloring. If you are considering rented furniture, ask the provider which protection and materials are allowed first. Move the collage to a flat drying spot before serving food. Do not leave loose paper or glue sticks among place settings.
6. Display and save the orchard
Once dry, display it using a method approved for the venue’s wall or rest it on a host-owned display surface away from traffic. Never attach it directly to rented furniture. Photograph the whole picture, then carry it home flat. A large envelope keeps the finished orchard together without folding through everyone’s artwork.
For a coordinated autumn setting, repeat one apple color in the napkins and browse MCA’s fall party inspiration. Keep the remaining table details quiet so the children’s shared creation gets its moment.
Planning a children’s celebration in NJ, NY or PA? Share your date, venue and guest count to explore furniture rental options.
Get a Quote