DIY Folded Paper Favor Pockets for Flat Party Keepsakes
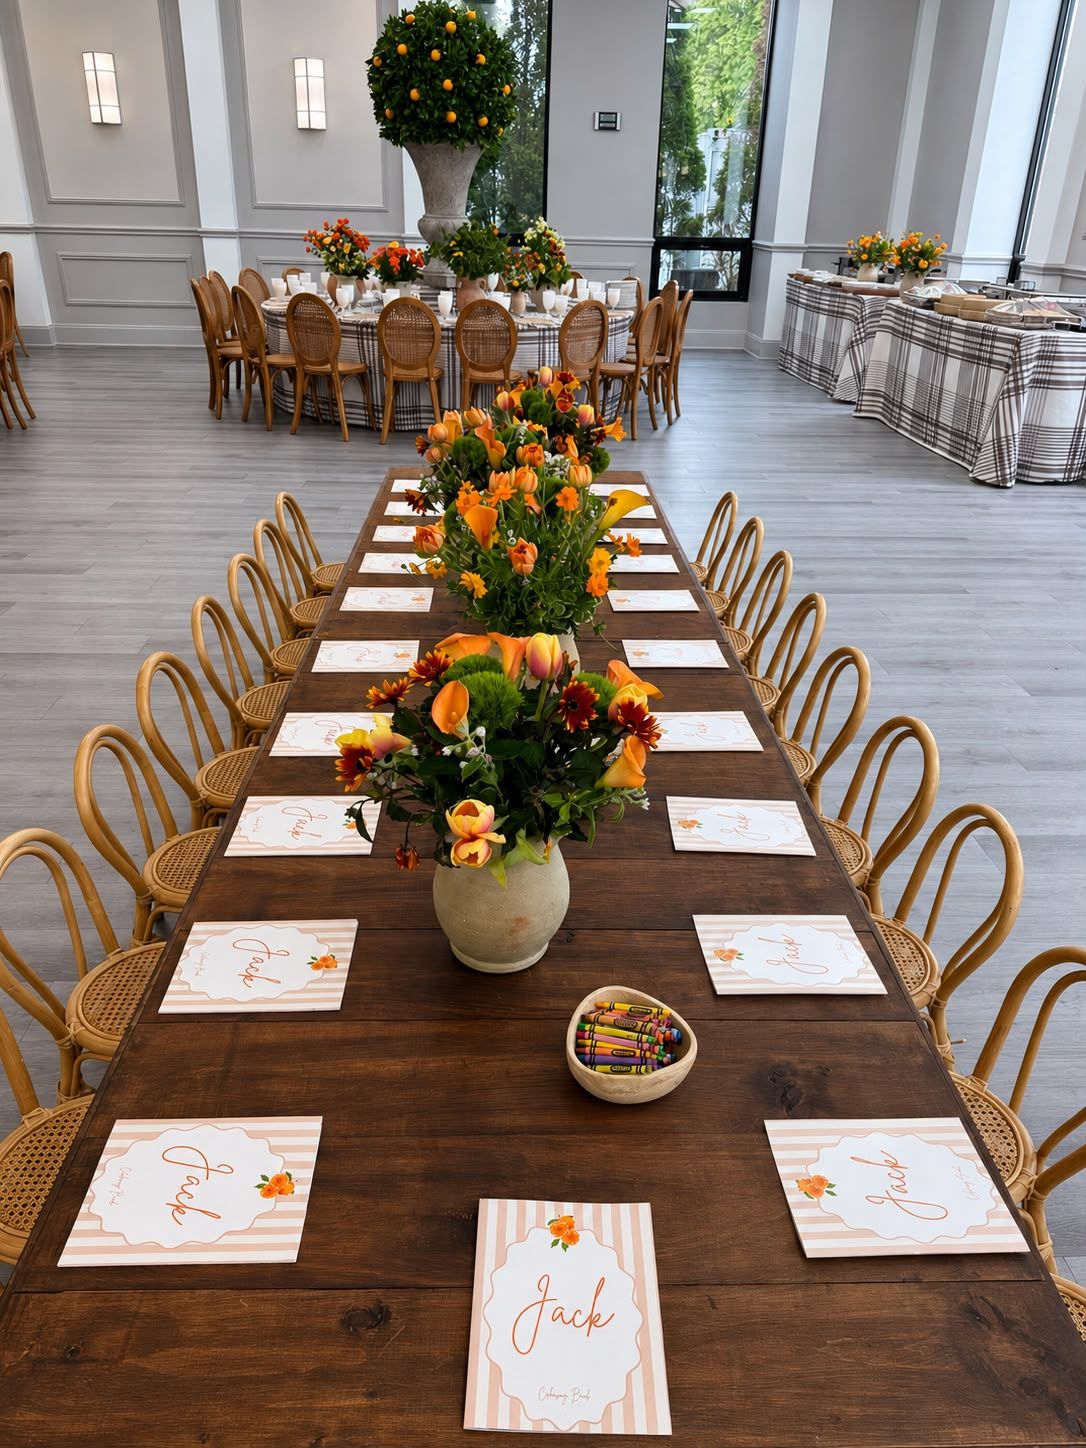
A flat paper pocket makes a small handmade favor feel considered. It can hold a bookmark, a drawing card or a short birthday thank-you message without a large bag or lots of filler. This version uses one sheet of paper and glued side tabs. Make a test pocket around the actual keepsake before preparing the full set.
Gather the materials
- Nine sheets of 9-by-12-inch paper, including one practice sheet
- A ruler, pencil and glue stick
- Crayons or markers for decoration
- Eight flat keepsakes, no larger than about 7 by 4 inches
- A scrap of paper for testing the adhesive
- A clean, host-owned work surface
1. Lay out the folds
Place a sheet vertically, 9 inches across and 12 inches tall. Mark a vertical line half an inch in from each long side. Measure 5 inches up from the bottom and draw a horizontal line. Draw another line 10 inches up from the bottom. Those horizontal marks divide the sheet into a front, a back and a closing flap.
2. Fold the side tabs inward
Fold both half-inch side strips toward the center and press the creases with your fingers. The sheet is now 8 inches wide. Keep the folds straight rather than pulling the paper tight. Very thick cardstock can become bulky at the corners, so start with ordinary craft paper and test whether it supports your chosen contents.
3. Bring the bottom panel up
Fold the bottom edge upward along the 5-inch line. Its top edge should meet the 10-inch line, leaving the last 2 inches exposed above it. Open this fold again. Apply glue only to the inward-folded side tabs on that bottom panel. Refold and press those glued tabs against the side tabs on the middle panel.
4. Check the opening
The middle of the pocket should remain unglued, with an opening across the top of the front panel. Slide in a clean scrap card to check that it opens freely, then remove it while the glue dries. If the middle has stuck shut, start with the spare sheet rather than tearing the front to rescue it.
5. Decorate and label
Fold the remaining 2-inch flap downward along the upper horizontal line. Write the guest's name on the front and add one repeated motif: a flower, little star or simple initial. Decorate while the pocket is empty so marker pressure does not mark the favor inside. Let any ink dry fully before stacking.
6. Fill without overpacking
Slip the flat keepsake into the dry pocket and fold the flap over it. Leave the flap unsealed for easy opening. These are paper sleeves, not containers for loose sweets, liquids, heavy toys or food in direct contact with the paper. Keep the finished pockets flat in a tray and hand them out individually.
Adults should manage adhesive and supervise younger decorators. Avoid small attached embellishments. Try filling your pocket with a folded corner bookmark and a short note about the next story to read together.
Planning a children’s celebration in NJ, NY or PA? Share your date, venue and guest count to explore furniture rental options.
Get a Quote